***First, a caveat—do not give these to kids. Button batteries seem harmless, but they’re actually really dangerous. When swallowed, they lodge in the esophagus and cause horrible corrosion and perforation. Bad stuff. Trust me on this one. ***
Most folks may have heard of LED Throwies—a disc battery, one LED, some tape and a magnet create a glowing light that can be tossed onto a high metal sign or post and will glow for days to weeks. I decided to make a 3D printed skull version of one. You don’t need much: the 3D print, a 10mm LED, and a CR2032 battery. You might need some tape or hot glue, but often sticks in without either.
I’ve gotten a few questions about the PIR sensor enclosures I use. My sensor of choice is the SR602 it accepts a supply of 3.3-18 V and outputs HIGH (3.3V) for 2 seconds when movement is sensed. The form factor is the real reason I prefer it, though. The circuit board for the SR602 is circular and fits perfectly inside a 1/2” PVC fitting.
My enclosure is based in no small part on the work of Halstaff, the great one. Mine has fewer parts and a slightly different form factor, but he certainly inspired me. If you haven’t seen his videos, do yourself a favor and check out is work. He’s sadly no longer with us, but I like to think of him as still working with the haunt community (just perhaps from the other side).
Another Haunter on Facebook asked about making a barb wire fence that would make an "electric shock" noise when you touched it. That inspired me to put together a quick prop based on capacitive touch.
It’s pretty simple to put together. No Arduino involved. The sound comes from an Adafruit Sound FX board. They aren’t the cheapest option, but really easy to work with. I've saved a sound clip of electric shock to the board's memory as T01HOLDL.wav. This way it will play the sound whenever pin #1 is connected to ground. WAV files require less decoding so play faster. Pin #1 is hooked to the output from a capacitive touch sensor. The sensor is set to give a ground signal when you touch it, 5v when you don’t touch it. For this particular sensor, you need to add a glob of solder to connect the "A" pads. I then scratched off some of the plastic covering the sensor and soldered a long wire to the sensor. That’s then connected to the outlet (which is of course NOT connected to household power or anything else.) 5V DC power from a wall wart transformer (or even 3 AA batteries) run to the power pins for both the sound board and touch sensor.
I highly recommend the Adafruit tutorial on their SoundFX boards. There are cheaper options for audio (DFPlayer mini is one of my favorites) but Adafruit is a great place to start. Adafruit also sells a great Capacitive Touch sensor board, but this one is cheaper and has the option to output ground signal with touch.
I wanted to show off a twitching victim I made for a friend's spider themed haunt. Here's a video of the prop in action.
The mechanism is based on an automatic car door lock motor like this:
It's available on Amazon for about $6 and runs on 12v DC. Here are a couple close up pictures of the mechanics.
The PVC and motor were then covered with plastic bags for bulk and then a couple layers of plastic treated with a heat gun to give the right corpsed/spun web appearance.
This electronics for this project are an extension of a lighting simulator I made previously. For this project, the frequency of the random twitches are controlled by the potentiometer. The arduino sends 5 volt signals to the mosfet which in turn controls the 12 volt motor.
To keep things small and cheap, I built the circuit based around an ATTINY85. These processors are great because they are very cheap (usually <$2) and programmable using the Arduino IDE. Here's a picture of the board.
Alternatively this could be built with an arduino uno and mosfet as a simple first arduino project.
Here's the schematic for the circuit:
And here's the code: [code updated 8/29/22 to account for millis() rollover]
//  Jekyll-Labs Twitchy Att
iny85
//  Built for Randflash board v1.1
//
int fet = 0;
int pulses = 1;
int pot = A1;
unsigned long start = 0;

void setup() {
  // initialize digital pin LED_BUILTIN as an output.
  pinMode(fet, OUTPUT);
  randomSeed(A0);
}

// the loop function runs over and over again forever
void loop() {
  int potsens = analogRead(pot);
  if (potsens < 120) potsens = 0;
  unsigned long delaybonus = map(potsens,0,1023,0,600000);

  if ((millis() - start)>(3000 + delaybonus)){
    start = millis();
    pulses = random(3)+1;
    for (int i = 0; i < pulses; i++) {
      digitalWrite(fet, HIGH);   // turn the LED on (HIGH is the voltage level)
      delay(150);                       // wait for a second
      digitalWrite(fet, LOW);    // turn the LED off by making the voltage LOW
      delay(600);                       // wait for a second
    }
  }
  else {
    digitalWrite(fet,LOW);
  }
  delay(10);
}
I decided to start playing with the Attiny85 processors because they are small, cute, and cheap. I love the arduino nano, but even the knockoff clones shipped from China are costing more than $5. I decided a great first project would be the lightning simulator. Here's a video of the final project:
Here is the Fritzing layout: (with 12v's worth of AA batteries and a single LED for the 12v light)
and the schematic:
After making it on a breadboard, I had a PCB printed to make the process more compact:
The code is Rob Tillaart's lightning code. Simple and effective.
//
//    FILE: lightning.pde
//  AUTHOR: Rob Tillaart
//    DATE: 2012-05-08
//
// PUPROSE: simulate lighning POC
//
//
#define BETWEEN 2579
#define DURATION 43
#define TIMES 7
#define LEDPIN 0
unsigned long lastTime = 0;
int waitTime = 0;

void setup()
{
  randomSeed(analogRead(2));
  pinMode(LEDPIN, OUTPUT);
}

void loop()
{
  if (millis() - waitTime > lastTime)  // time for a new flash
  {
    // adjust timing params
    lastTime += waitTime;
    waitTime = random(BETWEEN);

    for (int i=0; i< random(TIMES); i++)
    {
      digitalWrite(LEDPIN, HIGH);
      delay(20 + random(DURATION));
      digitalWrite(LEDPIN, LOW);
      delay(10);
    }
  }

  // do other stuff here


}
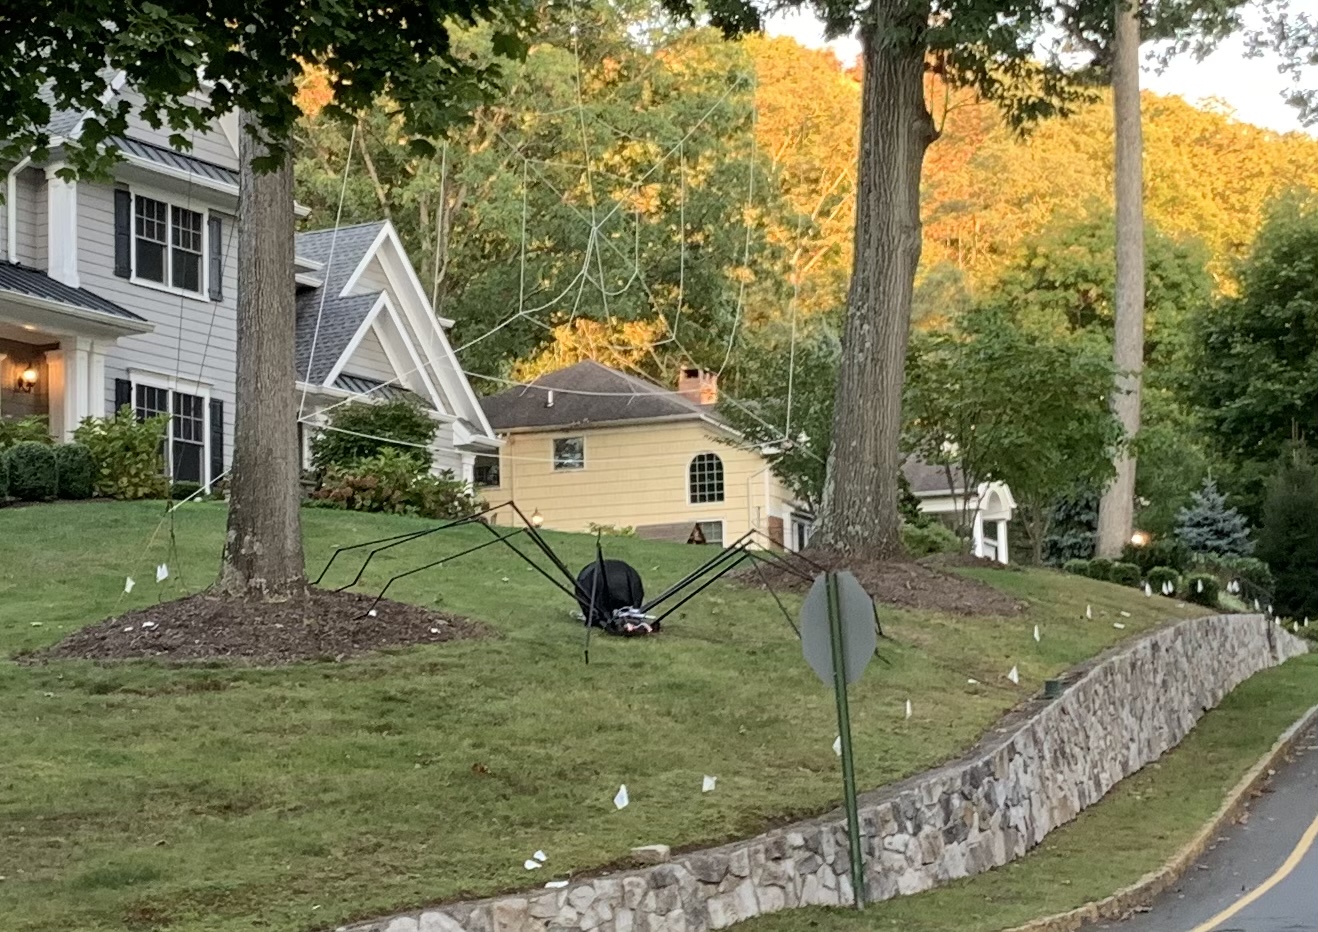
This is a Halloween prop from 2020. When the motion sensor is triggered, it moves its front legs and makes "spider noises" (some of which are actual recordings of wolf spiders.)
Here are some more still images.
The electronics for the spider run off an Arduino. (Plus Adafruit AudioFX board, a motion sensor, and a few relays).
This prop was a lot of fun. A combination of motion sensors, some LEDs and a servo motor let the skull light up and look towards movement. If you walk past, its head will continue to swivel and follow you. I had five of these stationed along our front walk.